In short
- Porcelain needs a stronger adhesive than standard ceramic tile adhesive.
- Let new concrete and screeds cure for four to six weeks, and plaster two weeks, before tiling.
- Never butt tiles together: at least 3 mm between porcelain and 5 mm between ceramic floor tiles.
- Leave flexible movement joints around the edge of every floor and in every corner.
- Add 10% to tiles, adhesive and grout for waste.
The adhesive makers link most tiling failures to a handful of causes: tiling too soon on new concrete, the wrong adhesive for the tile, no joints for movement, or walking on the floor too early. This guide covers how to choose the adhesive, prepare the surface, size the joints, and work out how much to buy.
The tile decides the adhesive
| Tile or place | What the adhesive makers say |
|---|---|
| Ceramic tiles, indoors | A standard cement-based tile adhesive. |
| Porcelain | Porcelain has a dense back that hardly absorbs water, so it needs a far stronger adhesive than a standard one. TAL specifies its quick-setting, high-strength adhesives. |
| Natural stone, light marble | A rapid-setting adhesive; a light-coloured one under light marble and travertine, because grey can show through. |
| Showers, outdoors, balconies, heavy traffic | Add a latex additive to the adhesive and grout. It replaces all the water in the mix. |
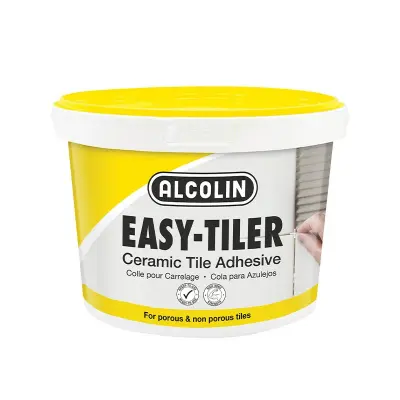
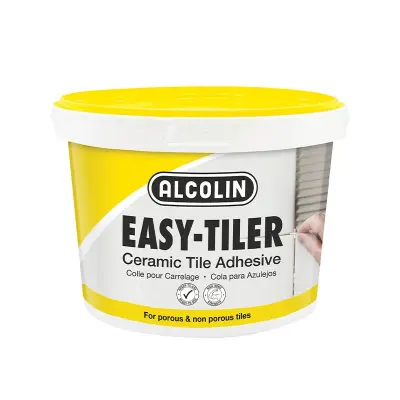
| Light ceramic wall tiles, small jobs | A ready-mixed paste works for light-duty interior work. Alcolin says its paste is not suitable for porcelain, granite or marble. |
Preparing the surface
- Let new work cure first. The adhesive makers ask for about four to six weeks for new concrete and screeds and two weeks for new plaster. Cement shrinks most in its first month, and tiles laid over it too early come loose. Follow the figure on the adhesive you buy.
- Clean, dry and sound. No dust or loose material. Plaster or screed that sounds hollow must come out and be made good.
- Smooth surfaces need a key. Steel-floated concrete, painted walls and gypsum plaster must be primed with the maker's key coat or roughened first. Plaster that will be tiled should be wood-floated and not skimmed with gypsum.
- Do not tile straight onto bitumen waterproofing. It needs a screed over it first.
- Waterproof showers and balconies before tiling. In a shower the waterproofing goes up the walls to the height of the shower rose and must dry for some days before the tiles go on. See waterproofing masonry.
- Level an uneven floor before tiling, not with a thick bed of adhesive. Going over the maker's maximum bed thickness can make the job fail.
Trowel, bed thickness and laying
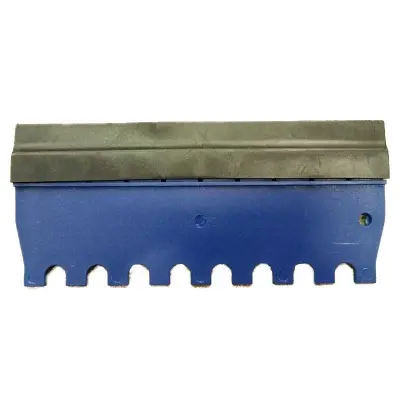
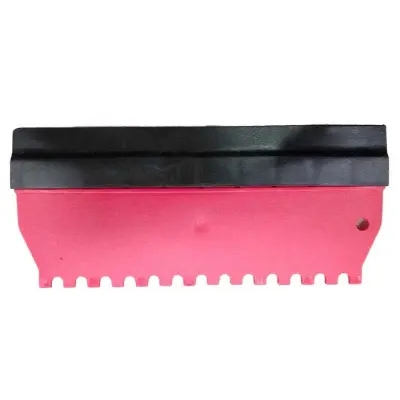
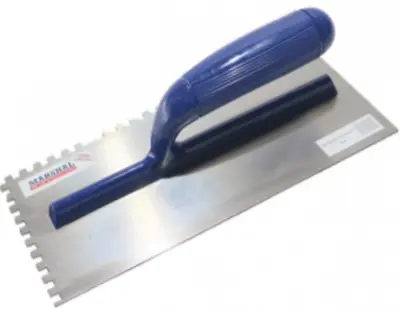
The notches on the trowel set how much adhesive ends up under the tile. Held upright, a 6 mm square-notched trowel leaves a bed of about 3 mm and a 10 mm trowel about 5 mm. The more uneven the floor and the tile, the more adhesive you need.
- Porcelain floors need a solid bed of adhesive at least 6 mm thick under every tile.
- Large tiles, bigger than 600 x 600 mm, need adhesive on the floor and on the back of the tile.
- Spread only what you can tile in 10 to 15 minutes, about a square metre at a time.
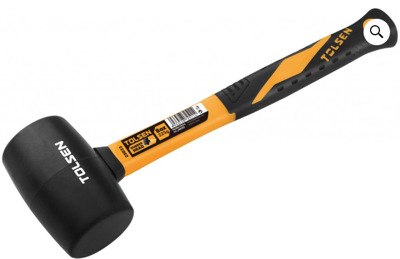
- Lay the tiles dry. Do not soak them. Press each one in with a twist and tap it home with a rubber mallet.
- Lift a tile now and then to check the adhesive is touching the whole back.
- Never add water to adhesive that has stiffened. Mix a fresh batch.
Joints: never butt tiles together
Grout joints let each tile move a little without pushing on its neighbour. TAL's minimums are 3 mm between porcelain tiles and 5 mm between ceramic floor tiles.
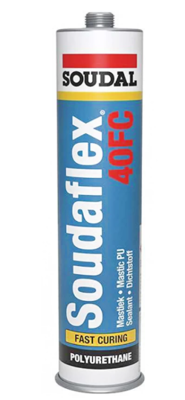
Movement joints are separate, and leaving them out is a major cause of failure. These are joints at least 5 mm wide that go right through the tile and adhesive and are filled with a flexible sealant, not grout. TAL asks for them:
- around the edge of every floor, and in every vertical corner;
- against columns, steps, door frames and sliding-door tracks;
- across the floor at no more than 5 metres apart, and 3 metres on a suspended slab;
- over any structural or expansion joint in the floor, which must never be tiled across.
Tiles that lift in a ridge or sound hollow usually point to one of these: tiling before the floor finished shrinking, no movement joints, tiles butted tight, walking on them too early, or a standard adhesive under porcelain.
Grouting and cleaning
- How long to wait before grouting depends on the adhesive: a few hours on a rapid-setting one, a day or more on a ready-mixed paste. Read the bag.
- Use a proper tile grout, not neat cement or a sand and cement mix. Grout is made to take small movements; a rigid cement mix is not.
- Fill the joints fully and press the grout in.
- Clean with a damp sponge, not a wet one, once the grout has stiffened. Too much water, in the mix or in the cleaning, leaves the colour patchy and the grout weak.
- Let it dry for 24 hours before polishing with a dry cloth, and wait at least that long before mopping.
- Do not acid-wash grout. Bleach and ammonia cleaners can fade the colour.
- Seal unglazed tiles before grouting so the grout does not stain them.
How much to buy
- Tiles: length times width of the area gives square metres. Add 10% for cuts and breakages, and more for a diagonal or herringbone pattern.
- Adhesive: read the coverage on the bag and match it to your trowel. As an example, TAL gives about 3 kg per square metre for its Goldstar 6 with a wall trowel and about 6 kg with a floor trowel, so a 20 kg bag does roughly 6 square metres of wall or 3 of floor. Uneven floors use more.
- Grout: it depends on the size and thickness of the tile and the width of the joint. Small tiles and wide joints use far more. The grout makers publish calculators; add 10%.
Products for this job
In stock at HPM now, with today's prices (incl. VAT). Tap a product for details, delivery and to add it to your cart.
Tile adhesive and grout
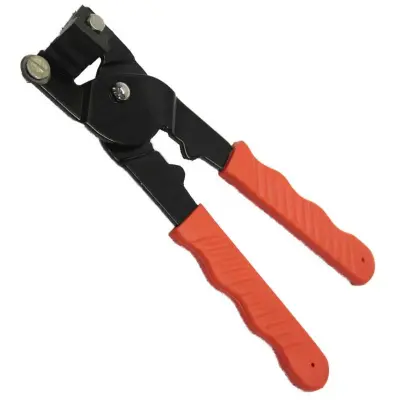
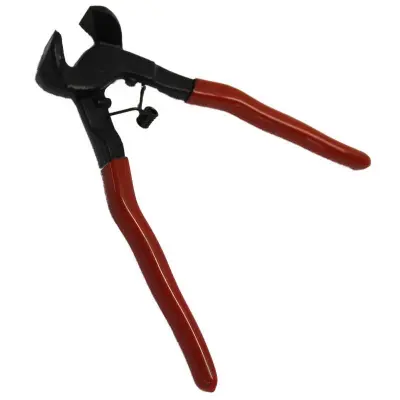
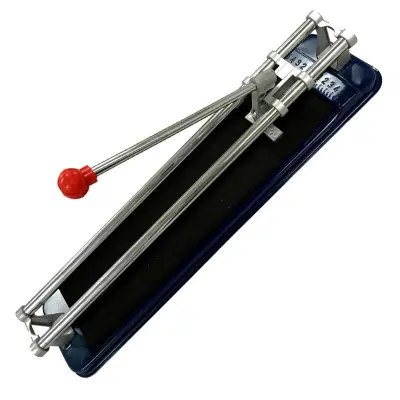
Tiling tools
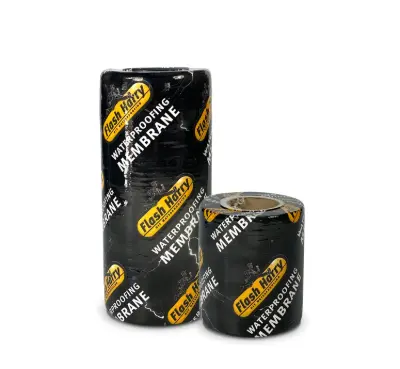
Waterproofing and joint sealants
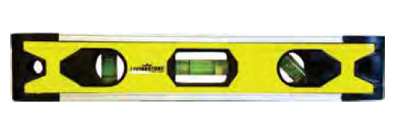
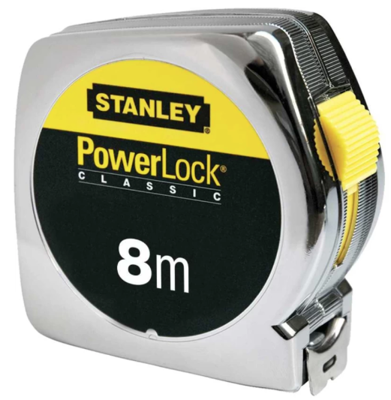
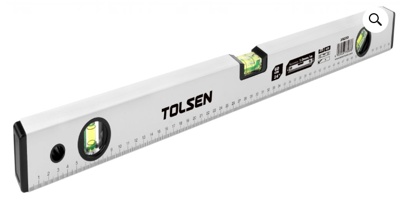
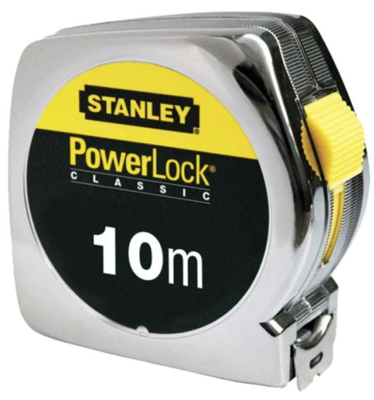
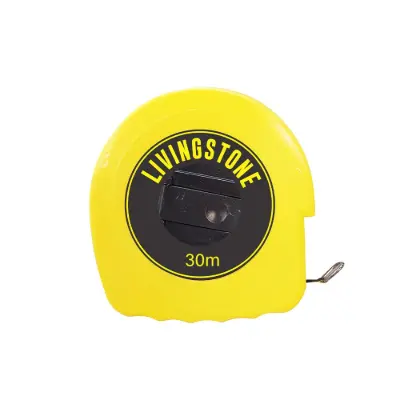
Levels and measuring

What you need
These links open the matching products in the HPM online store, with live prices (incl. VAT) and stock.
- Tile adhesive - standard, porcelain and ready-mixed
- Tile grout
- Building materials
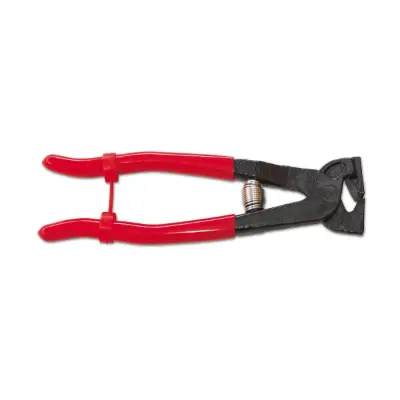
- Notched trowels and tiling tools
- Tile spacers and cutters
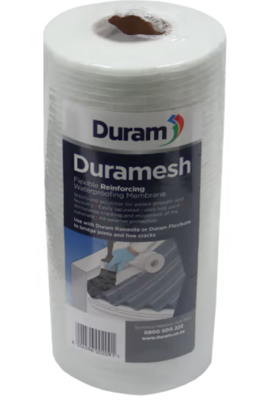
- Waterproofing for showers
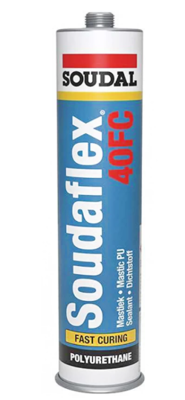
- Joint sealant - for movement joints
Questions and answers
Can I use normal tile adhesive for porcelain tiles?
No. Porcelain has a dense back that hardly absorbs water, and the adhesive makers say it needs an adhesive with far stronger bonding than a standard cement-based one. TAL specifies its quick-setting, high-strength adhesives for porcelain. Ready-mixed paste is not suitable either.
How many square metres does a 20 kg bag of tile adhesive cover?
It depends on the adhesive and the trowel, so read the bag. As an example, TAL gives about 3 kg per square metre for its Goldstar 6 with a wall trowel and about 6 kg with a floor trowel: roughly 6 square metres of wall or 3 of floor from a 20 kg bag. Uneven floors use more.
How long must new concrete cure before tiling?
The adhesive makers ask for about four to six weeks for new concrete and screeds and two weeks for new plaster, because cement shrinks most in its first month. Follow the figure given for the adhesive you buy.
What size grout joint should I leave?
Never butt tiles together. TAL's minimums are 3 mm between porcelain tiles and 5 mm between ceramic floor tiles. A ready-mixed paste adhesive from Alcolin calls for at least 2 mm on walls and 3 mm on floors.
Why are my floor tiles lifting or sounding hollow?
The usual causes are tiling before the floor had finished shrinking, no movement joints around the edges and across large floors, tiles butted tight together, walking on the tiles before the adhesive had set, or a standard adhesive used under porcelain.
Related guides
Delivery from HPM
Parcels up to 50 kg are delivered by courier anywhere in South Africa, with the rate shown at checkout. Heavy building materials such as cement, bricks, sand, stone and timber are delivered by our own trucks in the Western Cape, and any order can be collected free in Struisbaai.
WhatsApp 076 370 4367 for a quote, call 028 435 6331 or email [email protected].
Sources
The facts in this guide were checked against:
- Installation Guideline: Fixing Porcelain Tiles onto Interior Walls and Floors (December 2024) - TAL
- FAQ: Tiling - TAL
- FAQ: Adhesives - TAL
- Tile Adhesive Calculator: How Much Do You Need? - TAL
- Alcolin Easy-Tiler Technical Data Sheet (2025) - Alcolin
- SANS 10107: The design and installation of ceramic tiling - South African Bureau of Standards
General guidance only. Products, sites and building rules differ - always follow the product data sheet and your approved plans, and check with your municipality or a registered professional where the work is structural, electrical or needs approval. More short answers: Building Facts & Advice.